虛擬開關控制燈泡(虛+實)
-
虛擬操作控制介面
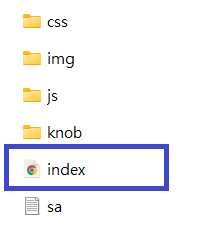
- 請按以下連結的下載檔案,並且解壓縮後,選取「index.html」執行。
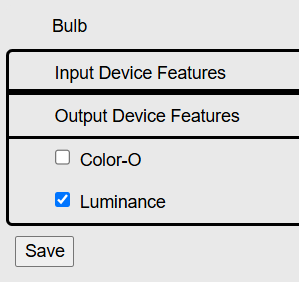
- 執行「index.html」後,選擇「switch」型態的輸入控制按鈕。

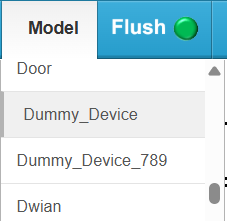
物聨網操作介面(以IoTtalk為例)
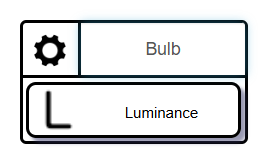
- 新增一個虛擬燈泡(輸出裝置)

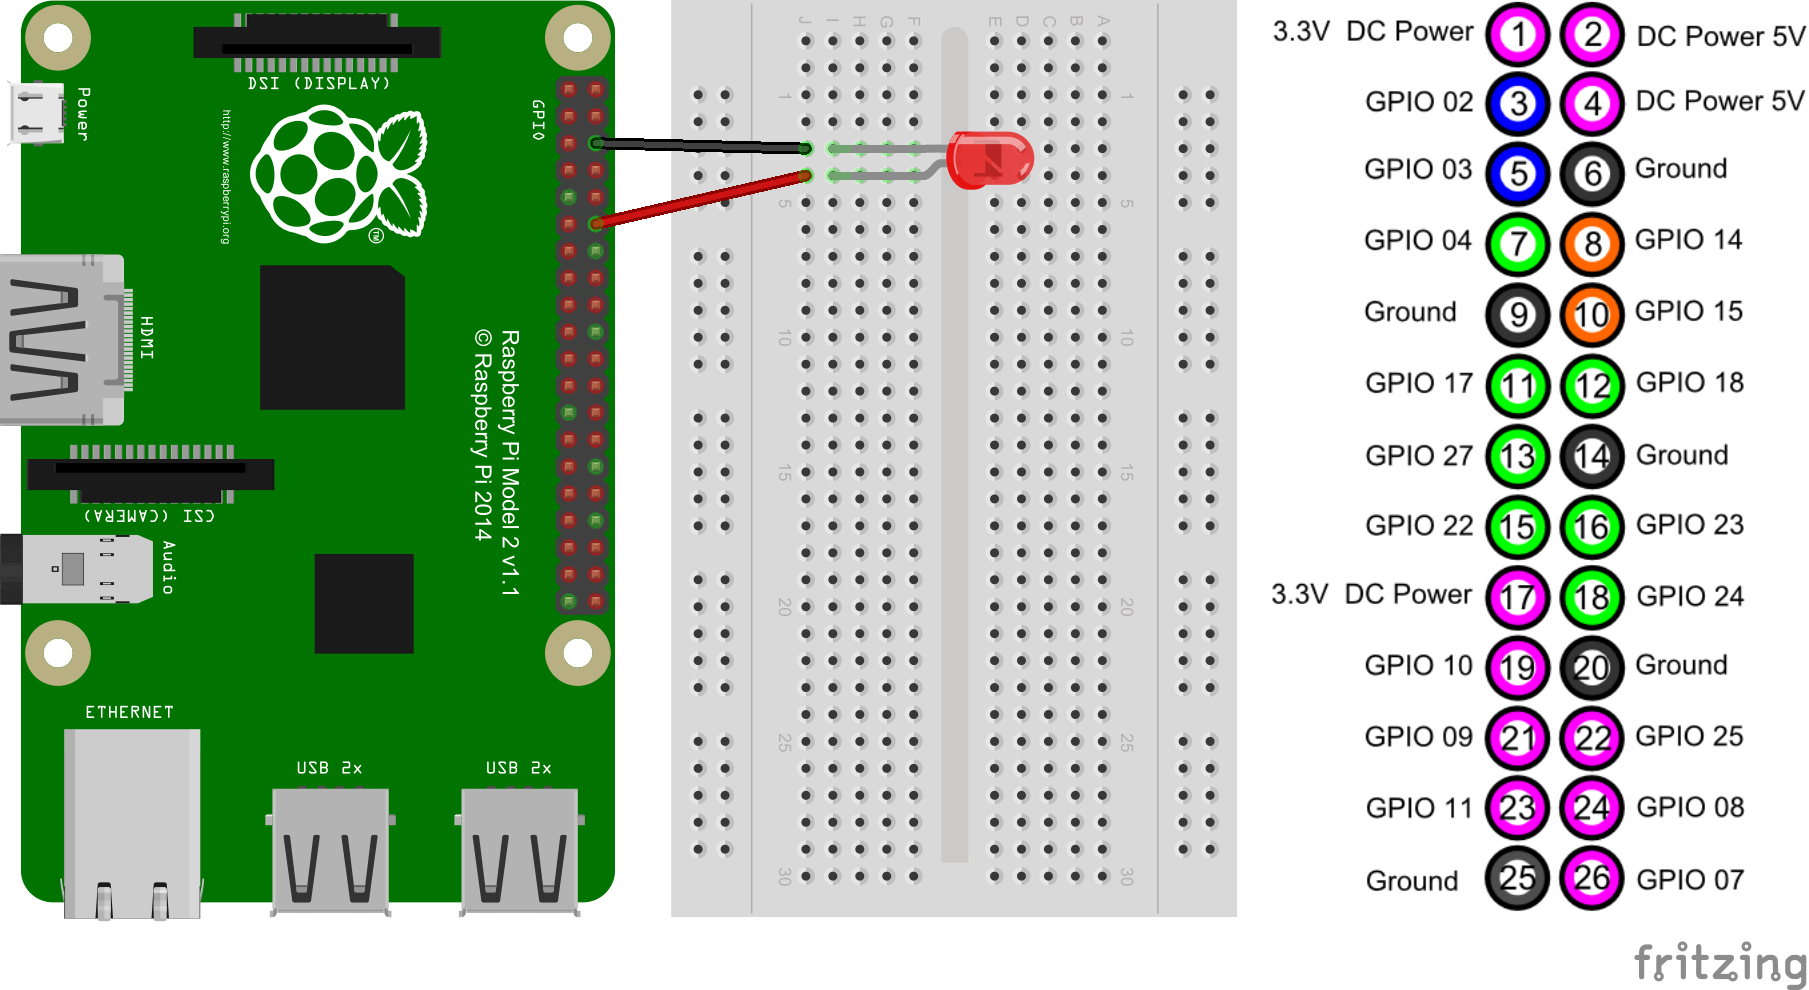
- 在樹莓派上連接一個真實的LED燈泡。
- 樹莓派(Raspberry Pi)與物聨網平台(IoTtalk)程式連結下載
- 請解壓縮後,選取「SA.py」修改程式。
import random
import RPi.GPIO as GPIO

GPIO.setmode(GPIO.BOARD)
LED_PIN = 6
GPIO.setup(LED_PIN, GPIO.OUT)

ServerURL = '' #For example: 'https://DomainName'
MQTT_broker = None # MQTT Broker address, for example: 'DomainName' or None = no MQTT support
MQTT_port = 1883
MQTT_encryption = False
MQTT_User = 'ID'
MQTT_PW = 'PW'

device_model = 'Dummy_Device'
IDF_list = ['Dummy_Sensor']
ODF_list = ['Dummy_Control']
device_id = None #if None, device_id = MAC address
device_name = None
exec_interval = 1  # IDF/ODF interval

def Dummy_Sensor():
    return random.randint(0, 100), random.randint(0, 100)

def Dummy_Control(data:list):
    bulb_status = data[0]
    if bulb_status != None:
        if bulb_status > 0:
            print("LED is on")
            GPIO.output(LED_PIN, GPIO.HIGH)
        else :
            print("LED is off")
            GPIO.output(LED_PIN, GPIO.LOW)

def on_register(r):
    print(f'Device name: {r["d_name"]}')
    '''
    #You can write some SA routine code here, for example:
    import time, DAI
    while True:
        DAI.push('Dummy_Sensor', [100, 200])
        time.sleep(exec_interval)
開啟終端機程式,在Python所在的資料夾中,執行以下的指令:
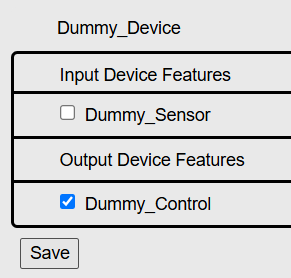
sudo python3 DAI.py- 在 IoTtalk 平台上新增一個真實燈泡(輸出:Dummy Device)

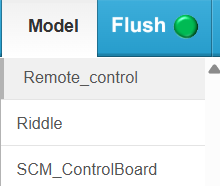
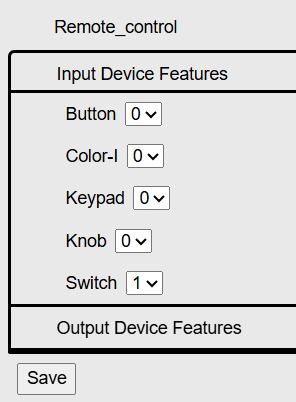
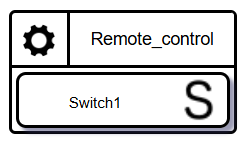
- 新增一個虛擬控制裝置(Remote Control)
連接物聨網裝置
- 連結設備裝置與定義裝置間的函式。
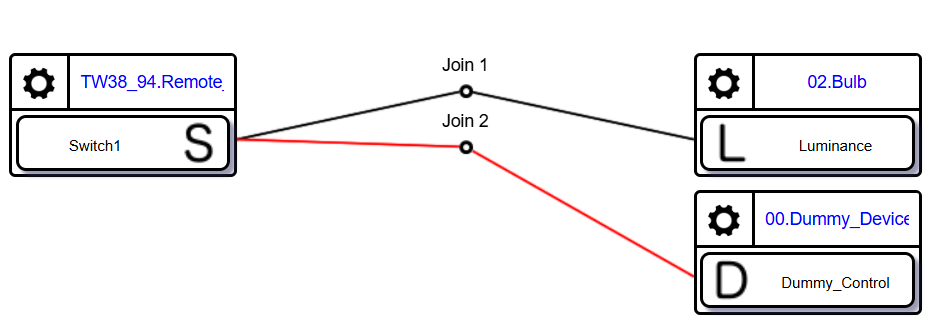
- Join 1 的函式(!nksh_led)
def run(*args): if args[0] > 0 : return 100 else : return 0- Join 2 的函式(!nksh_led)
def run(*args):
    if args[0] > 0 :
        return 100
    else :
        return 0